Looking for hearing aids in Noida & Delhi, NCR? Sound For Life offer best quality & affordable range of digital hearing aids in Noida & Delhi, NCR from manufacturers Siemens Hearing Aid. Call us 91-9015401540 to know more.
Have you ever experienced a persistent ringing, buzzing, or hissing sound in your ears? This condition is known as Tinnitus, and many people around the world are suffering from it. It may be quite bothersome and even unpleasant at times. But there is hope, so don’t worry. The use of hearing aids is one beneficial choice. For those who have tinnitus, hearing aids can significantly improve their quality of life. They can lessen the loudness and improve the ability to hear other noises, but they cannot cure it. Your everyday life may improve and you may feel more at ease as a result. Let’s examine the potential benefits of hearing aids for tinnitus.
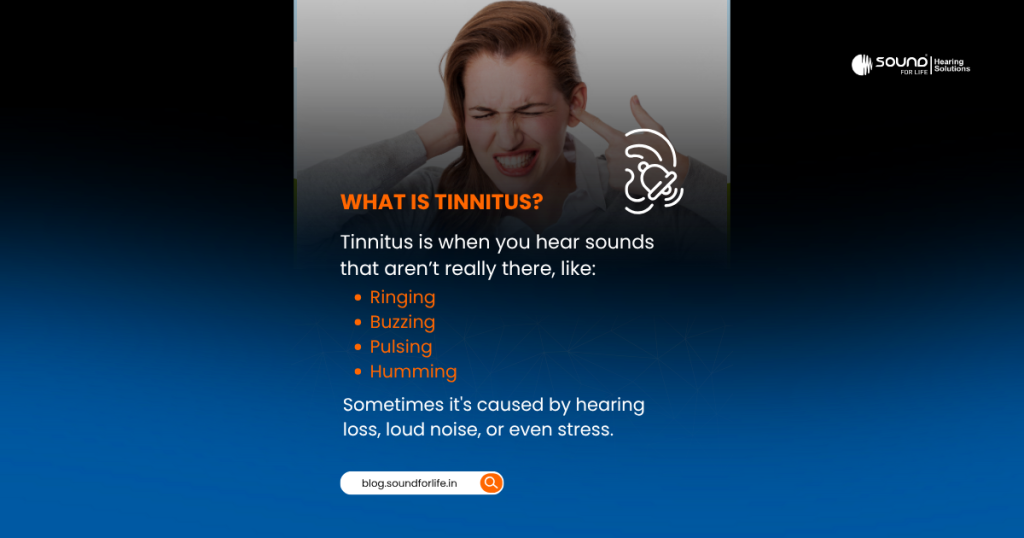
What Is Tinnitus?
Tinnitus is the hearing of noises when there is no external source. These sounds might include:
The buzzing
The sound of ringing
Pulsing and humming
Clicking
Doctors may be able to infer the cause of the sound you hear from its type:
Muscle contractions close to your ear may be the cause of clicking noises.
Pulsing or rushing noises might be signs of blood vessel issues.
Low-pitched ringing may be caused by blockages in the ear canal, stiff inner ear bones, or Meniere’s disease.
High-pitched ringing, the most common type, is often caused by loud noise exposure, hearing loss, or certain medications. It might be challenging to identify the exact cause of tinnitus at times. Whatever the cause, the most crucial thing is to handle it effectively.
How Can Hearing Aids Help?
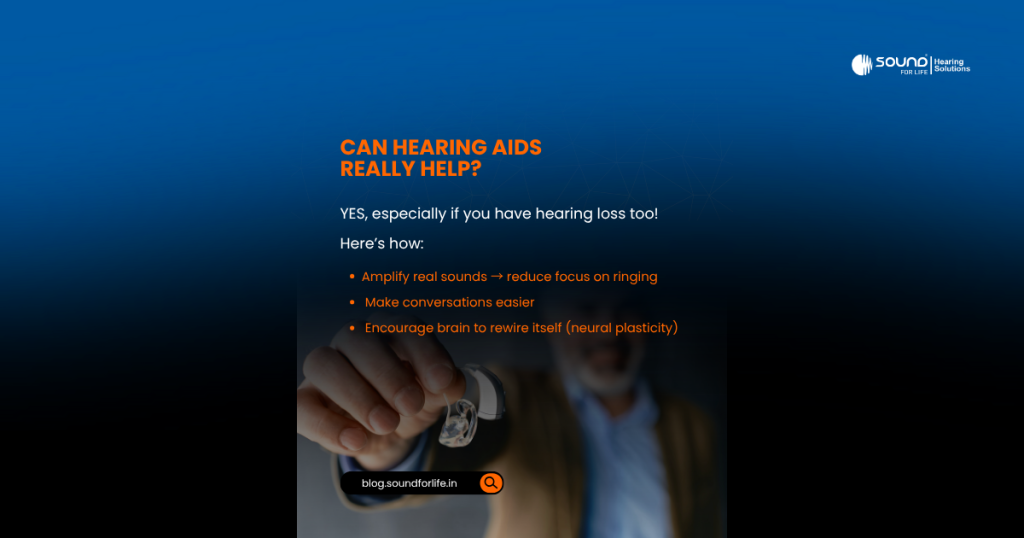
Hearing aids are an effective tool for many people dealing with tinnitus, especially if it’s related to hearing loss. Here’s how they work:
Lack of awareness of Tinnitus Your brain gets less information from the environment when you have hearing loss. Due to this lack of sound, the tinnitus seem louder and more noticeable. Hearing aids amplify external sounds, making them more prominent and helping your brain focus less on the ringing or buzzing sound in the ear.
Enhance Interaction Tinnitus can make it difficult to hear outside sounds as the ringing in the ear often masks other sounds. Hearing aids boost external noises, making conversations easier to follow and reducing frustration.
Encourage Neural Plasticity Sometimes, tinnitus is caused by changes in your auditory pathways due to a lack of sound input. Hearing aids provide stimulation to your auditory system, encouraging your brain to adapt and possibly reducing the perception of tinnitus over time.
Features to Look For in Hearing Aids
To get the most benefit from hearing aids for managing tinnitus, consider fitting hearing aids in both ears for balanced sound input.
Choosing an open-ear design will be best since they provide a more natural listening experience, which can help reduce the perception of tinnitus.
To be able to hear more clearly, select hearing aids with wide amplification bands, as they enhance sound clarity and make it easier to hear soft background sounds that may mask tinnitus.
Avoid hearing aids with aggressive noise-reduction features, as these can eliminate sounds that help distract from the ringing or buzzing. A professional audiologist can fine-tune your hearing aids to meet your unique hearing and tinnitus needs.
Other Ways to Manage Tinnitus
While hearing aids are a great option to manage Tinnitus, there are other ways to deal with it:
Suppression of Noise Tinnitus can be made less visible by masking its sound with fans, white noise generators, or soothing music.
Devices for Masking These devices, to lessen Tinnitus, produce low-level white noise like soft humming sounds also known as white noise to relax the ear.
Counselling and Therapy Therapy for Tinnitus Retraining (TRT): It retrains the brain to ignore Tinnitus. Cognitive behavioural therapy, or CBT, can teach you how to manage the emotional repercussions of tinnitus.
Lifestyle Changes Limit your intake of caffeine, quit smoking, and alcohol. Regularly follow relaxing exercises like yoga or meditation.
Hearing Protection When you are in noisy places shield your hearing to avoid more harm.
You might be surprised to learn how simple it is to maintain your hearing aids. By following a few simple tips regularly, your hearing aids can keep working well for many years. The same general guidelines apply whether your device fits in your ear (ITE/ITC) or rests behind your ear (BTE). Frequent cleaning and careful handling preserve the sound and safeguard your investment. This handbook explains the importance of care and provides you with daily, weekly, or monthly routines to follow.
Why Hearing Aid Care Is Important
Hearing aids are small, delicate devices that work inside the ear canal. To improve your hearing, they pick up sound and make it louder. Since they reside in your ear, they face moisture, wax and dirt every day. If we do not clean them regularly, wax and moisture might accumulate inside it. This accumulation might produce whistling and feedback or make sound appear dull. In fact, wax clogging is one of the most common reasons hearing aids stop working properly. You can achieve the greatest sound quality and prolong the life of your hearing aid by cleaning it daily. Think of daily care as part of protecting your hearing investment, it helps you hear clearly now and for years to come.
Basic Daily Maintenance
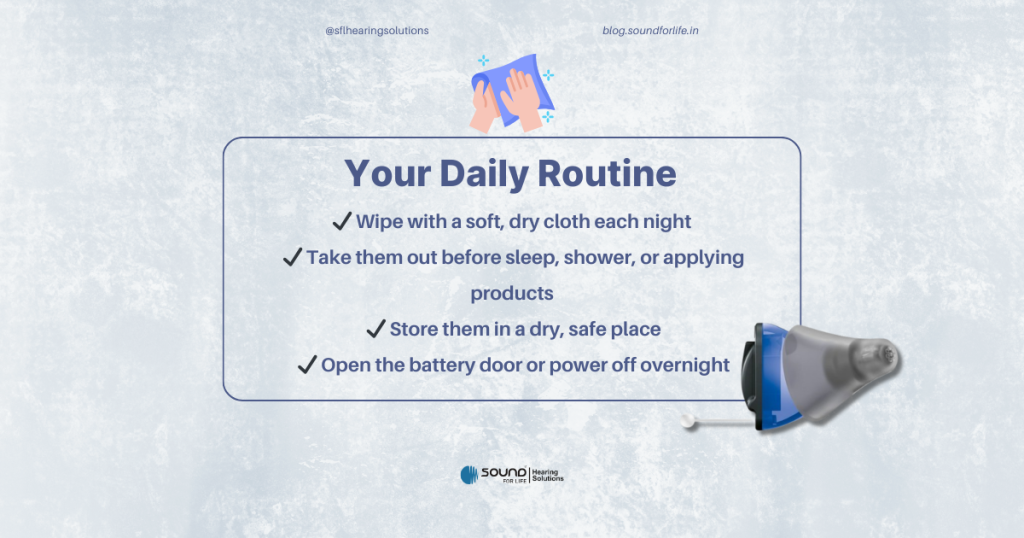
Make these simple steps part of your daily routine, just like brushing your teeth or washing your face:
● Wash your hands first. Always start with clean, dry hands. This prevents dirt or germs from getting on your hearing aids.
● Wipe and brush gently every night. At the end of each day, use a soft, dry cloth and the tiny brush or tool that came with your hearing aids. Gently wipe the body of the hearing aid and any earpieces. Use the brush to sweep away any visible wax or debris from the tiny openings and the tube. This will help prevent muffled sound or feedback.
● Remove them at bedtime. Take your hearing aids out before you go to sleep. This gives them time to air out and dry, which helps avoid moisture damage. Many people find it easy to store them in a safe spot at night when they take them out.
● Turn them off or open the battery door. If your hearing aids have disposable batteries, open the battery compartment and/or turn off the device overnight. This saves power and lets any moisture inside dry out. (Always follow your audiologist’s instructions about batteries.)
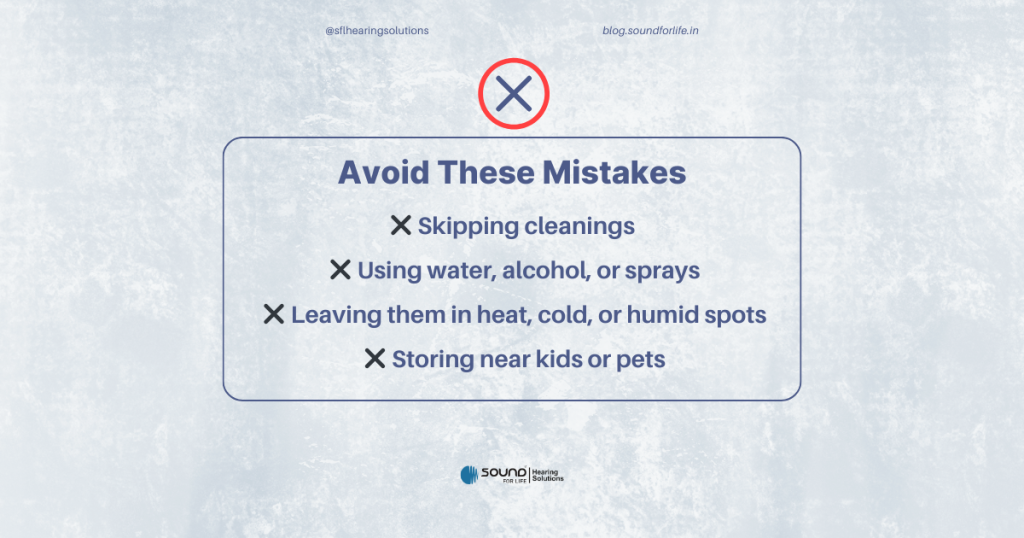
● Keep them dry and chemical-free. Remove your hearing aids before showering, bathing, or swimming. Also take them out before using hairspray, hair gel, or applying lotion and sunscreen around the face – let those products dry first. Water and chemicals can damage the electronics. (Never use an alcohol wipe or cleaning liquid on the device.)
● Store them in their case or charger when not in use. Keep hearing aids in a protective case or on their charger any time you’re not wearing them (including at night). This protects them from dust, drops, and curious fingers.
● Avoid heat and cold. Don’t leave hearing aids in very hot or cold places, like in a car on a hot day or in freezing temperatures. Extreme temperatures can warp the plastic and damage the electronics. When going outside in winter or doing yard work, take off your aids and put them in a safe spot at home.
Following these daily steps will help keep your hearing aids clean and working reliably each day.
Weekly and Monthly Cleaning Tips
Once a week (and monthly for some parts), do a deeper cleaning to keep your aids like new:
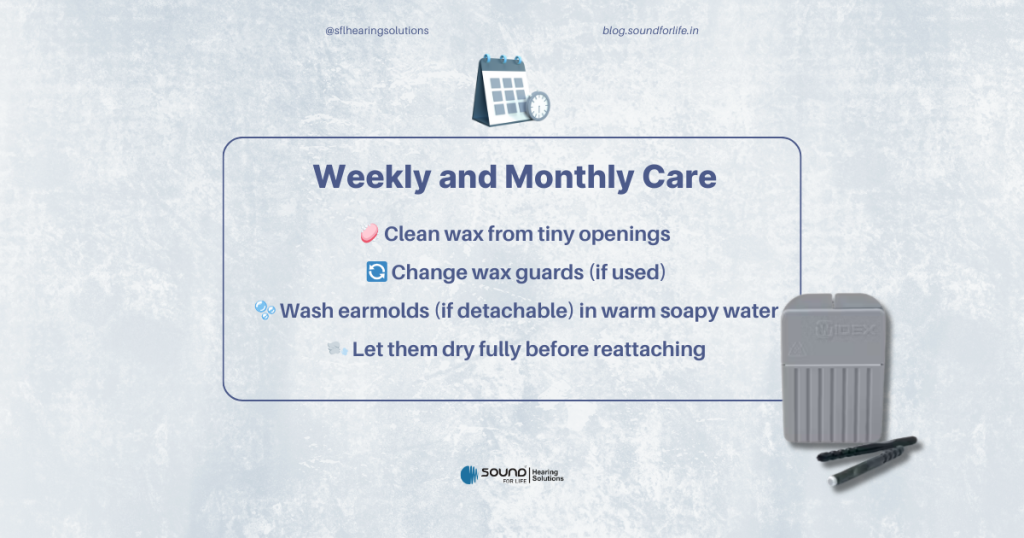
● Brush out earwax. Even with daily cleaning, some wax or debris can collect in tiny places. Use a small brush or wax pick to reach inside the openings where sound comes out and the microphone enters. It helps to hold the aid so the opening points down, letting any loose bits fall out. Change any small wax guards or filters (if your aid has them) about once a month.
● Clean behind-the-ear (BTE) models: If you have a BTE hearing aid (with a tube and earmold), detach the earmold from the hook each week. If the earmold does not contain the tiny speaker, you can wash just the earmold in warm, soapy water. Rinse it well, then blow water out of the tubing with a small bulb or blow gently (as if cleaning a straw). Let it dry completely overnight before reattaching. (Never put the electronic part of the hearing aid itself in water.) Also wipe or replace the soft dome tips at the end of the tube every 1–2 months.
● Clean in-the-ear (ITE/ITC) models: If your hearing aid fits entirely in the ear canal (ITE or ITC style), do not wash it with water. Instead, use the brush and pick each week as above. Gently clear wax from the sound outlet. Remember to change the wax guards monthly if your aid has them. Finally, wipe the outside of the aid with a soft, dry cloth; never soak it.
● Use a soft cloth for finishing. After brushing or washing, use a clean, dry microfiber or soft cloth to wipe the entire hearing aid. This removes any dust or moisture from the outside. A quick nightly wipe can become a weekly habit for extra cleaning.
● Never submerge the electronics. Hearing aids should never be soaked in water or placed in liquid. Water can ruin the mic and speaker parts. Only removable, non-electrical parts (like earmolds or domes) are safe to wash.
● Consider extra drying in damp weather. If you live in a humid climate or sweat a lot, run a dehumidifier or hearing-aid dryer box overnight. These devices pull moisture out of your aids to prevent rusting and corrosion. Even if it seems fine, drying every night can add years to your device’s life.
Weekly cleaning may seem like extra work at first, but most steps become quick habits. Over time your hearing aids will be almost free of wax and moisture, which means better sound for you.
Handling and storing your hearing aids safely will prevent accidents and damage. Use these friendly tips:
● Stick to a safe routine. Take off your hearing aids at roughly the same times each day (for example, at bedtime and when showering) and always put them back in the same spot. This way you won’t misplace them. Good spots include a bedside table, a dresser, or a special drawer. Avoid random hiding places – consistency is key.
● Keep them in a protective case. When you aren’t wearing your hearing aids, store them in their hard case or charging base. This shields them from falls, dust, and curious pets or children. If you carry them in a purse or pocket, keep them zipped up in their case.
● Avoid unsafe locations. Never leave hearing aids on the bathroom sink, on a sunny windowsill, or in a hot car. Bathrooms and cars can be damp or very hot, which harms the electronics. Don’t store them in the refrigerator or freezer either – cold can damage them.
● Keep them out of reach of kids and pets. Hearing aids and batteries are very small and can be swallowed by a child or pet. Always store your hearing aids (and spare batteries) in a place children and pets cannot reach. If someone accidentally swallows a hearing aid or battery, call a doctor right away – button batteries especially can cause serious injury.
● Use a dehumidifier or dry box if needed. If humidity is a problem (for example, in a bathroom, basement, or in very humid weather), keep your hearing aids in a drying box or dehumidifier each night. These devices have a desiccant or electronic drying cycle to absorb moisture. (Some charging stations even include a drying feature.)
● Handle with gentle care. Treat your hearing aids like the delicate instruments they are. Do not drop them on hard floors, sit on them, or expose them to water. Always put them in place and take them out carefully – using both hands if needed.
By storing your hearing aids wisely and handling them gently, you avoid many common problems (like crushed tubing or water damage) before they happen.
Battery Care and Charging Tips
Whether your hearing aids use disposable batteries or are rechargeable, proper battery habits are important:
● Disposable (single-use) batteries:
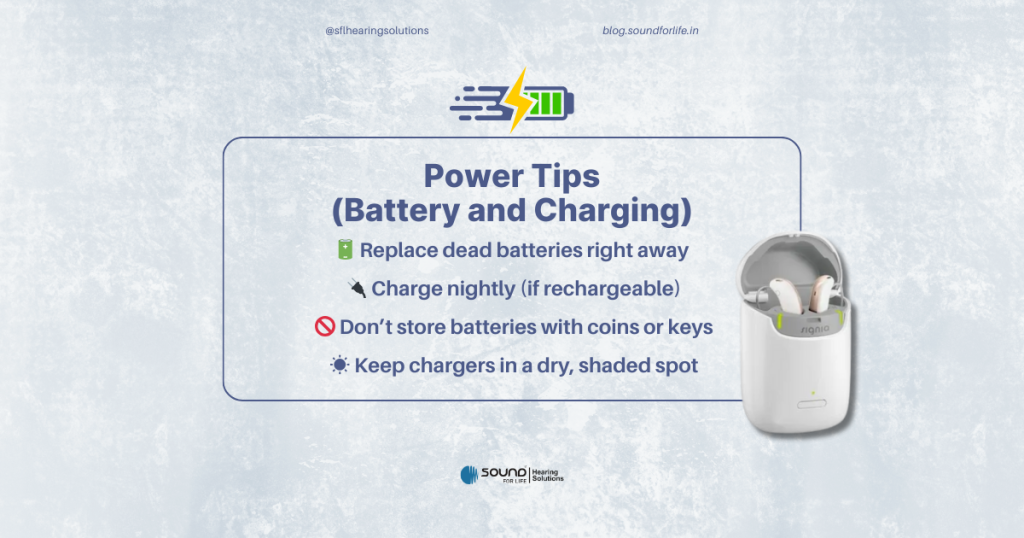
○ Change batteries as needed. Replace a dead battery right away to avoid static and to always have clear sound. Keep a small supply of extra batteries at home.
○ Open the battery door overnight. Every night, open the battery compartment and remove the battery (or turn the aid off) so that any moisture inside can evaporate. This also saves battery life.
○ Store batteries safely. Keep unused batteries in a closed container at room temperature – never in the fridge. Do not mix batteries with coins, keys, or other metal (they can short out). Keep them away from children and pets; button batteries can be lethal if swallowed.
○ Dispose of old batteries properly. Put used batteries in a sealed, child-proof container and take them to a recycling drop-off or safe disposal site. Do not toss them in the trash where a child or pet might find them.
○ Charge every night. Place your hearing aids on their charger base each night as directed, even if the battery indicator still shows power. This ensures they start the next day fully charged. Many experts recommend letting them charge after every use.
○ Follow the manufacturer’s instructions. Use only the charger that came with your aids, and plug it into a reliable outlet. Keep the charging station in a dry, safe spot (on a table or shelf). If your hearing aids get sweaty or damp during the day, wipe them dry before charging.
○ Avoid battery drain if possible. Try not to let rechargeable aids sit completely dead for long periods. Regular charging and use will help the battery last longer over time. If you’ll be away from the charger for a while (like traveling), make sure they are fully charged before you go.
By caring for your batteries (whether replacing or charging) and storing them safely, you avoid many hearing aid problems. Always remember: “Button” batteries are extremely dangerous if swallowed, so keep them secured.
When to See a Professional
Even with the best home care, hearing aids need occasional professional attention. Your hearing care provider has special tools and expertise to keep your aids in top shape. Here’s when to make an appointment:
● Regular check-ups: Plan to have your hearing aids professionally cleaned and checked about every 6–12 months. Audiologists use tiny vacuums and brushes to remove wax and debris from inside vents and microphones (places we can’t reach at home). These visits catch small issues early.
● If sound changes or trouble begins: If your hearing aids start sounding weak, distorted, or whistling (feedback) even after you’ve cleaned them, see your specialist. These can be signs of wax build-up or a need for a new filter. If the device won’t turn on or gives no sound at all, it may need repair. Don’t ignore these problems – a quick trip to your audiologist can often fix them.
● After damage or injury: If your hearing aid is dropped hard, gets very wet, or if you develop an ear infection, take the aid in to be checked. Even a little moisture can corrode the inside, so a professional drying or repair might be needed. If you have ear pain, redness, or a bad odor coming from the aid, have a health professional examine your ear too.
● For adjustments and updates: Sometimes your hearing changes, or the aid needs fine-tuning. If sounds seem too loud or too soft, or if you get discomfort, schedule a visit. Your audiologist can reprogram the device or reshape the earpiece for a better fit.
Remember: professional care is part of the routine. Getting your hearing aids checked twice a year and asking for help whenever something is wrong will keep them running smoothly.
Receiving your first hearing aids is such a transformative moment that will significantly change your way of living. Whether you are rediscovering the gentle chirp of birds outside your window or seeking clearer conversation with loved ones, this small device opens doors to the world of sound. However, new users often feel overwhelmed or unsure of what to do next.
From day one to six months, this guide offers a comprehensive road map to help you comfortably acclimatise and adjust to your hearing aids. You will have a better understanding of typical problems, useful solutions, and when to get more help at the conclusion of this post. Let’s go off on the path to pleasant, clear hearing.
Getting Started: Before You Wear Your Hearing Aids
1. Understanding Your Hearing Loss Profile
Each hearing loss is unique. Your audiologist at SFL Hearing Solutions will review your audiogram, a chart showing the softest sounds you can hear at different frequencies. This personalized map informs how your devices are programmed.
High-frequency loss: Difficulty hearing consonants like “s,” “f,” or “th.”
Low-frequency loss: There may be a little background rumbling and soft vowel sounds.
Sensorineural vs. conductive: Sensorineural loss involves inner ear or nerve damage; conductive relates to ear canal or middle ear issues.
Setting reasonable expectations for the adapting process is aided by being aware of your particular loss.
2. Choosing the Right Style
There are several different styles of modern hearing aids. Your decision has an impact on personal taste, comfort, and usefulness.
Behind-the-Ear (BTE)
It has a tiny tube that connects to an earpiece and sits behind your ear. This design is great for those with mild to severe hearing loss. It is a dependable option for daily usage because it also provides more power and durability.
Receiver-in-Canal (RIC)
Similar to BTE but with a small receiver inside the ear canal.
More natural sound quality.
Less visible than BTE.
In-the-Ear (ITE)
This design is custom-made to fit the shape of your ears and it sits comfortably inside the outer ear. This is created particularly for those who struggle with small buttons or controls to make it easier to use.
In-the-Canal (ITC) & Completely-in-Canal (CIC)
Due to its tiny size, it is less noticeable. It could, however, have fewer features because of its smaller size. It suits best for those who are struggling with mild to moderate hearing loss.
Invisible-in-Canal (IIC)
Deep inside the ear canal, making it nearly invisible.
Suitable for mild to moderate hearing loss.
Requires professional fitting and regular cleaning.
We at SFL Hearing Solutions help you choose a style based on your degree of hearing loss, lifestyle, and usability.
The First Week: Building the Foundation
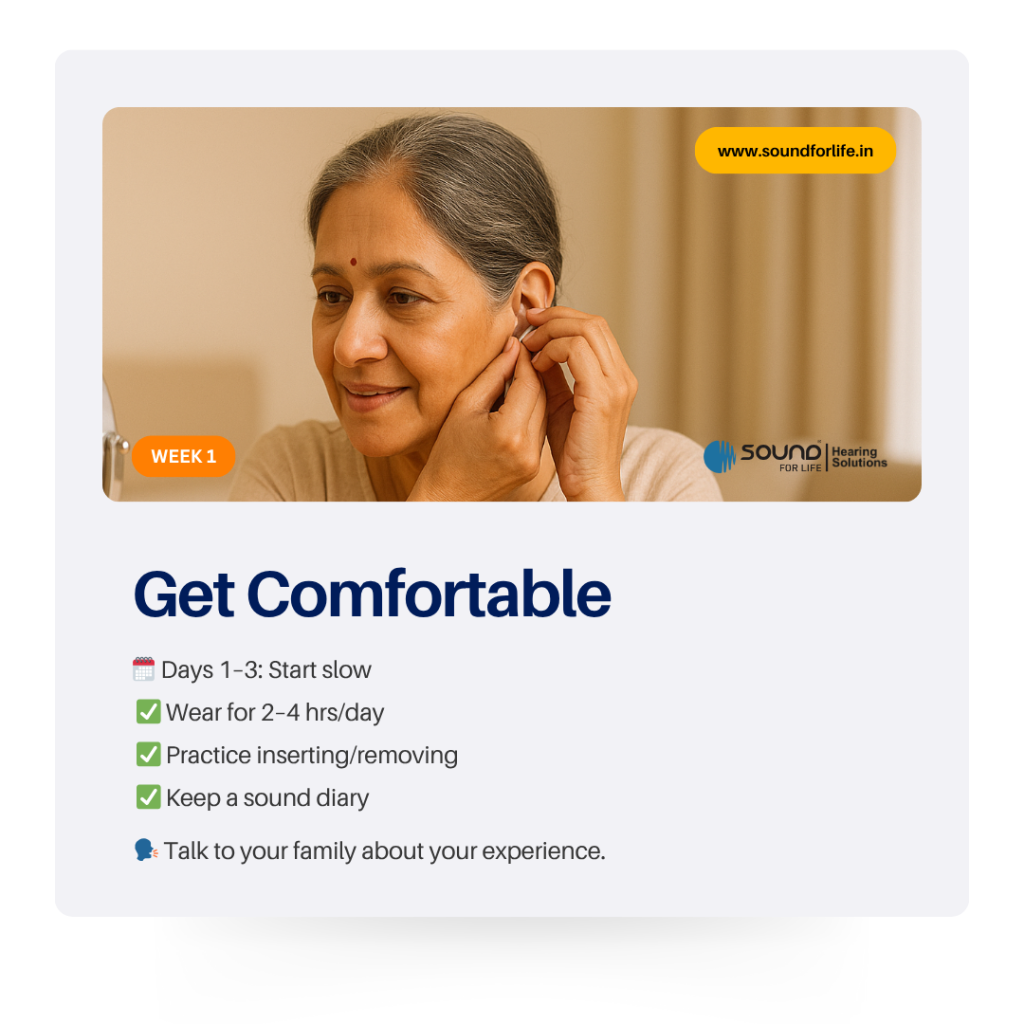
1. Day 1–3: Introduction Phase
Wear schedule: Begin with spending two to four hours each day in peaceful settings. This avoids ear strain and sensory overload.
You’ll notice that:
Soft noises are amplified: Your own breathing, rustling leaves, and a ticking clock. It may feel strange to have this sudden riches.
Occlusion effect: When speaking, the occlusion effect causes a feeling of fullness or echo. It occurs because bone conduction carries the vibrations of your own voice.
Physical awareness: Contact spots that hurt or feel slightly compressed.
Steps to take:
Insert and remove your devices in front of a mirror to master technique.
Listening diary: Take a note of which sounds are too loud, too harsh, or yet weak in your listening journal.
Talk to your family: Explain what you experience so they can support you.
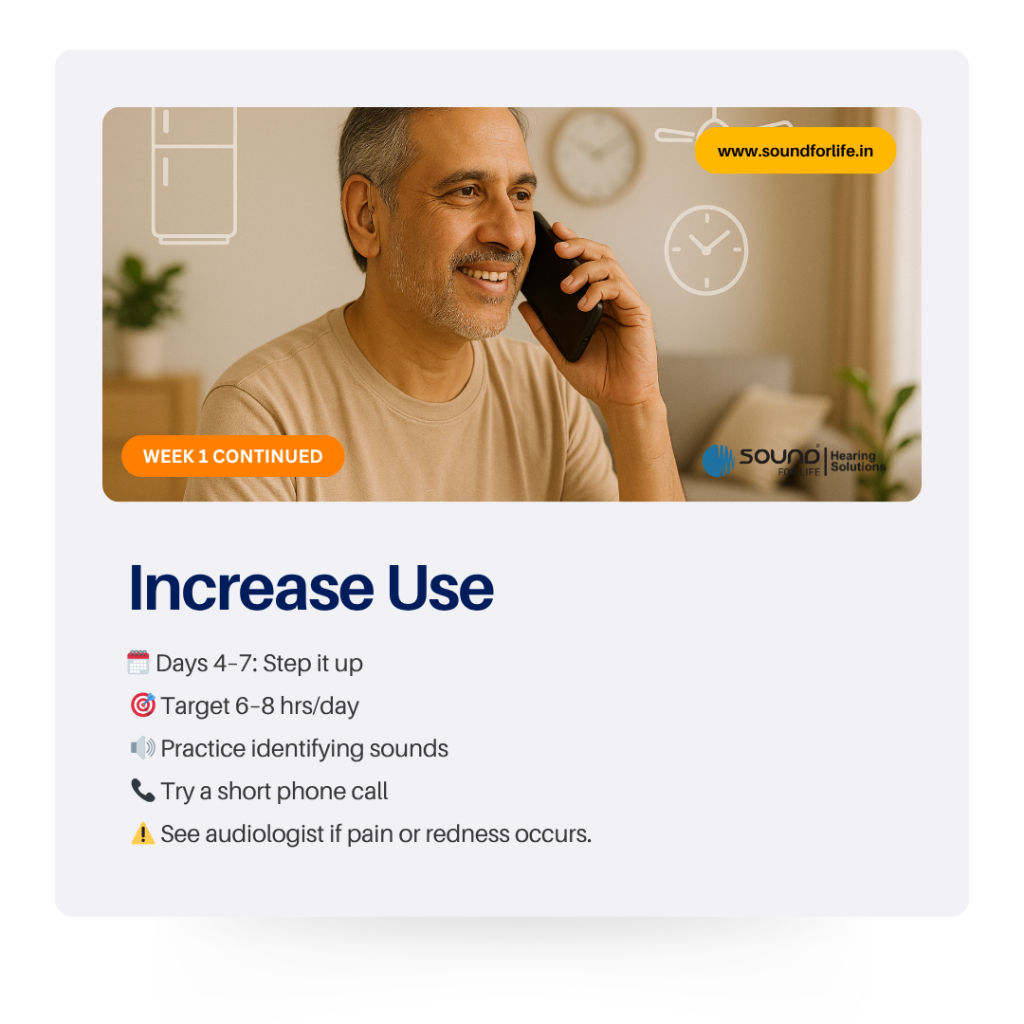
2. Day 4–7: Steady Increase
Wear schedule: Increase the number of hours you wear each day to 6–8. Start with simple, disciplined listening activities.
Listening exercises:
Sessions of reading aloud: Have a family member or acquaintance read quietly in a room.
Identification of Sounds: Close your eyes and identify at least five distinct sounds (e.g., clock, hum of refrigerator, distant conversation).
Phone calls: You can practice one on one calls sound clarity by using your hearing aid’s phone program
Handling discomfort: While mild irritation is normal, you should see your audiologist if you experience persistent pain or redness. Ear tips can be adjusted for a softer seal.
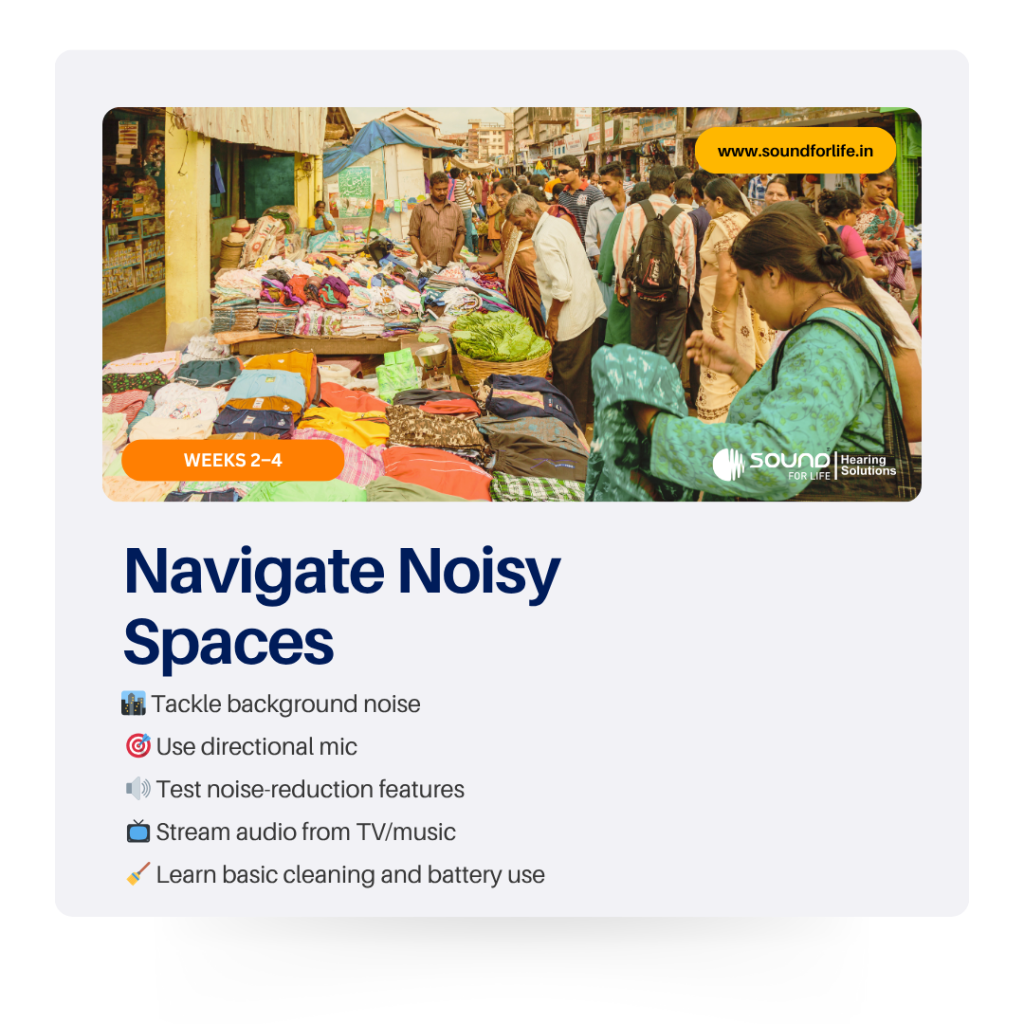
3. Weeks 2–4: Expanding Your Listening World
3.1 Lengthening the Wear Time
Try to wear your hearing aids for 8–10 hours per day. By week four, full-day wear, including daily tasks like walking or cooking is ideal.
3.2 Handling the Problem of Background Noise:
Challenge: Markets and other noisy places might seem chaotic.
Techniques:
Training with a directional microphone: Many devices focus on sounds in front. Practice turning your head toward speakers rather than amplifying all directions equally.
Controlled noise exposure: Start with mild background noise (radio at low volume), then gradually progress to busier rooms.
Use of noise reduction features: Learn how to use any automated noise reduction settings that may be included in your model.
3.3 Battery and Maintenance Routines
Battery maintenance: For the rechargeable batteries, develop a daily charging schedule and for the disposable batteries learn to change them quickly.
Cleaning procedure: Use the included tools to remove wax and debris. Use a delicate brush to carefully clean the microphone ports.
Storage: To extend the life of the gadget, store it overnight in a dry box or dehumidifier.
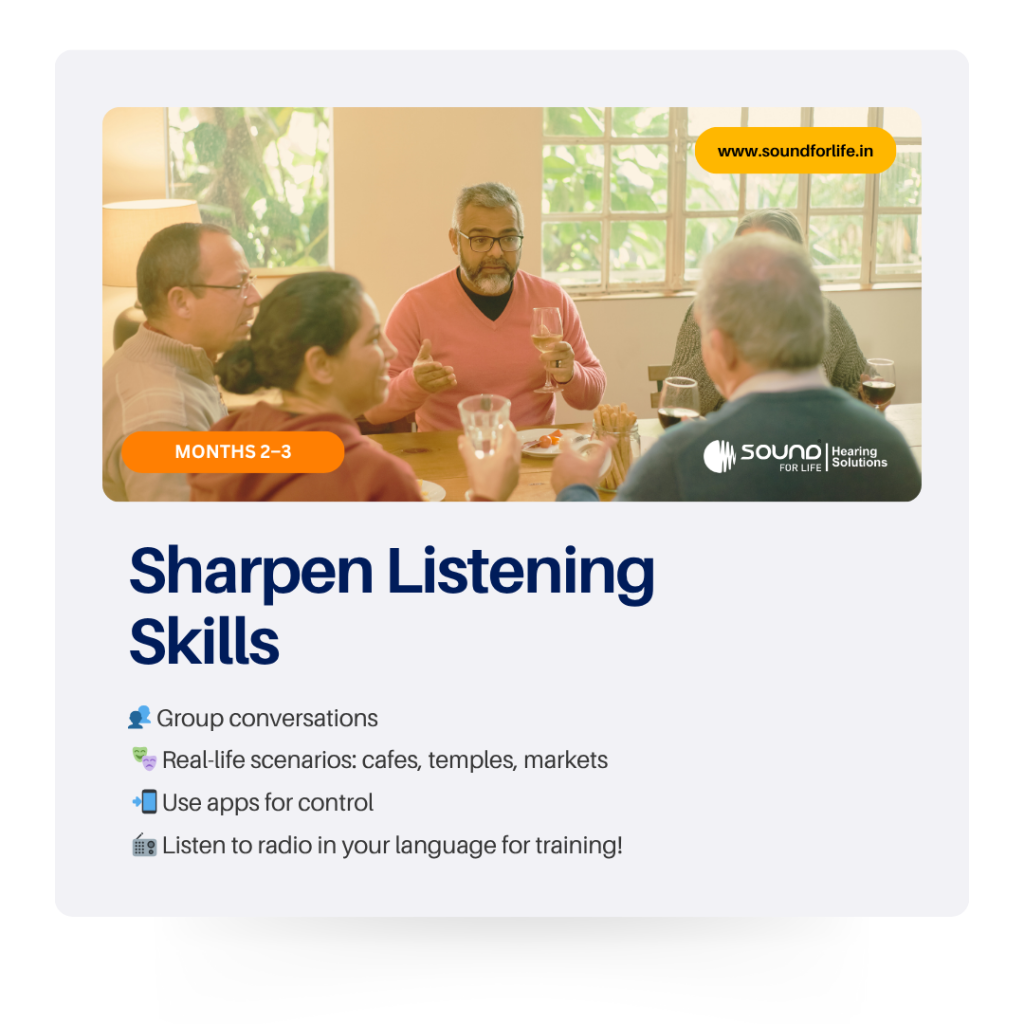
4. Months 2–3: Cultivating Listening Skills
4.1 Conversation in groups:
Small group practice: Invite two or three people to have a natural conversation, to allow you to focus on lip-reading and asking clarifying questions. Ask them to speak to you in turns.
Large group dynamics: Move gradually to larger gatherings, like family dinners. Position yourself at a table with fewer overlapping conversations.
4.2 Challenging Situations:
Restaurants or outside eateries: Use restaurant programs or mute background noise manually. Request seating away from the kitchen or speakers.
Outdoor events: At temples, fairs, or concerts, practice identifying distinct sounds like temple bells while balancing ambient noise.
4.3 Incorporating Technology
Smartphone apps: Many modern aids offer apps for volume control, program switching, and sound mapping visualizations.
Audio streaming: To improve sound quality without environmental interference connect your devices to TVs or music players.
Pro Tip for India: Try listening to familiar radio programs in regional languages. The predictability of voices and content helps your brain acclimatize more quickly.
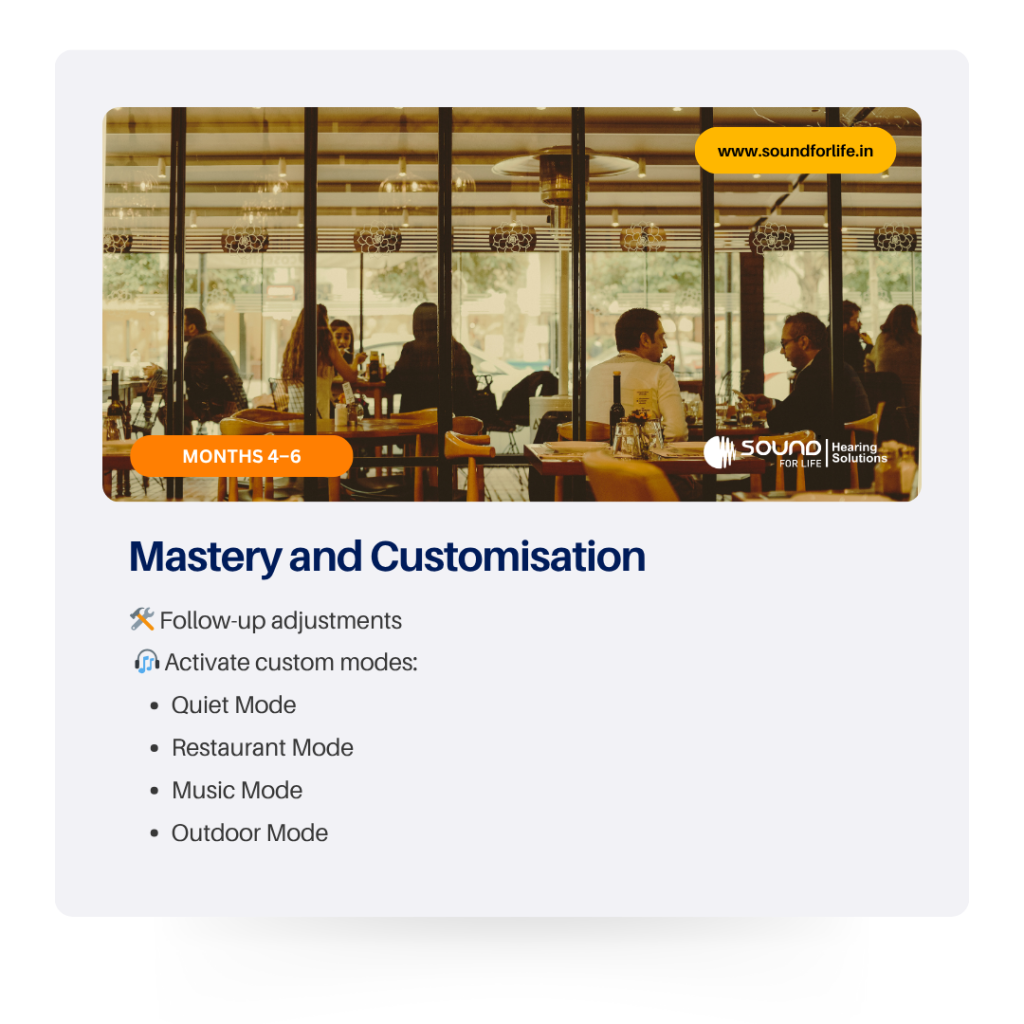
5. Months 4–6: Fine-Tuning and Mastery
5.1 Follow-up Appointments
Visit schedule: Book follow-ups at 6–8 weeks and 3 months post-fitting.
What to discuss:
Any persistent issues (feedback, unclear frequencies).
Comfort and fit adjustments.
Program customisation based on your lifestyle (e.g., office, temple visits, outdoor walks).
5.2 Advanced Listening Programs
Program Name
Best Used For
Benefits
Quiet Mode
One-on-one conversations
Reduces ambient noise
Restaurant Mode
Busy cafes and family gatherings
Focuses on frontal speech signals
Music Mode
Listening to movies, music, prayers
Enhanced sound quality and richness
Outdoor Mode
Markets, streets, temple grounds
Balances environmental sounds
Work with your audiologist to adjust program parameters like gain and compression slope.
6. Tips and Strategies for Faster Adaptation
Daily Listening Goals: Set a goal to identify and journal five new sounds each day.
Active Engagement: Listen to audiobooks in your favourite languages—pause, rewind, and reflect on unclear words.
Visual Cues: Continue lip-reading and observe facial expressions to supplement auditory input.
Mindful Breaks: Give your ears periodic rests; remove devices if you feel overwhelmed, then resume.
Social Support: Join local hearing loss support groups or SFL-hosted workshops to share tips and success stories.
7. Frequently Asked Questions (FAQ)
Q1: How long would it take for me to feel “normal” wearing my hearing aids?
A: By three months, most users see a noticeable improvement, and by six months, they have fully acclimated. The degree of hearing loss and use consistency affect individual outcomes.
Q2: Can I wear hearing aids in the rain?
A: Most devices are water-resistant but not waterproof. Use a protective accessory or umbrella; dry aids thoroughly if they get wet.
Q3: Will my hearing deteriorate faster with constant aid use?
A: No. While they enhance sounds, hearing aids do not result in further hearing loss. In fact, they help by stimulating your auditory circuits.
Q4: Are there government subsidies or insurance options?
A: In India, schemes like the ADIP (Assistance to Disabled Persons) program provide financial aid. Some private insurers offer partial coverage; check your policy terms.
8. Community and Family Involvement
Hearing aid success thrives on teamwork.
Encouragements:
Family training sessions: During your visit to audiologists, bring your relatives to understand the best communication practices.
Patience and clarity: Ask speakers to face you while speaking, talk clearly, and avoid covering their mouths.
Positive reinforcement: Celebrate each accomplishment such as your first group conversation, first movie without captions, etc.
9. When to Seek Professional Help
After six months of regular use if you have or experience any of the following symptoms, get in touch with your audiologist without further delay:
Persistent discomfort or pain
Speech comprehension issues in most environments
In spite of proper care and maintenance, frequently the device malfunctions.
Our specialists at SFL Hearing Solutions offer complimentary check-ups for any device fitted through us, ensuring you continue on the path to confident hearing.
Adapting to hearing aids is a slow process especially for the first time users but the result is rewarding. By around six months, you can get clear, comfortable hearing with regular usage, organised listening exercises, expert adjustments, and strong family support. Keep in mind that each user’s journey is unique, having patience and perseverance are essential.
At SFL Hearing Solutions, not only your hearing health, your general well-being remain our top priorities. For enquiries, follow-up consultations, get in touch.